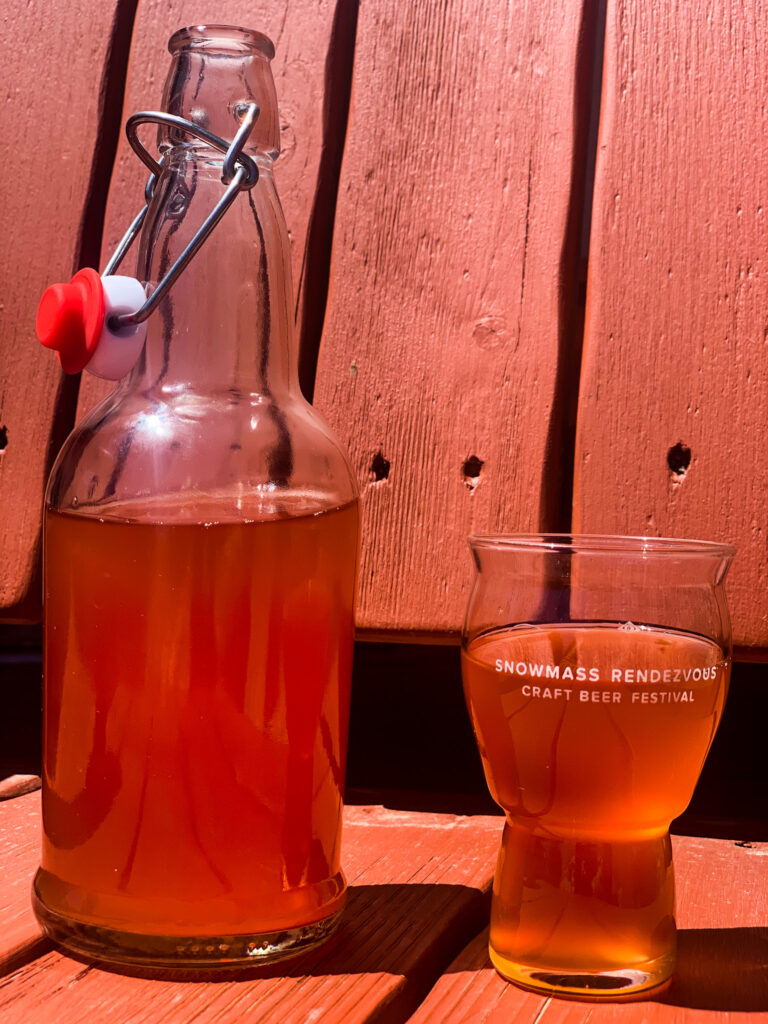
It’s time I share another From the Kitchen post, and here we are with KOMBUCHA. I first have to ask, have you even heard of kombucha? Growing up in the Midwest, I’ve never heard of kombucha until moving to Colorado. It may seem like a real hippy drink, but even if it is it comes with a lot of health benefits. Donnie and I have loved kombucha ever since we first tried it but buying it from the grocery store constantly can really add up. Brewing kombucha at home is very easy and honestly I think it may even taste better. If you want to learn how to brew your own kombucha or learn my take on the health benefits-read on!
What really is Kombucha and why should I drink it?
Kombucha is simply fermented tea. It isn’t necessarily alcoholic, but it is possible to make it alcoholic and around Colorado you can find kombucha on tap somewhere, or hard kombucha sold in stores. It is sort of a probiotic drink so it is good for your gut, digestion, and immune system. I believe it helps rid the body of toxins and can even make you feel energized. Overall, kombucha makes you feel good, and I am here for it!
Scoby what?
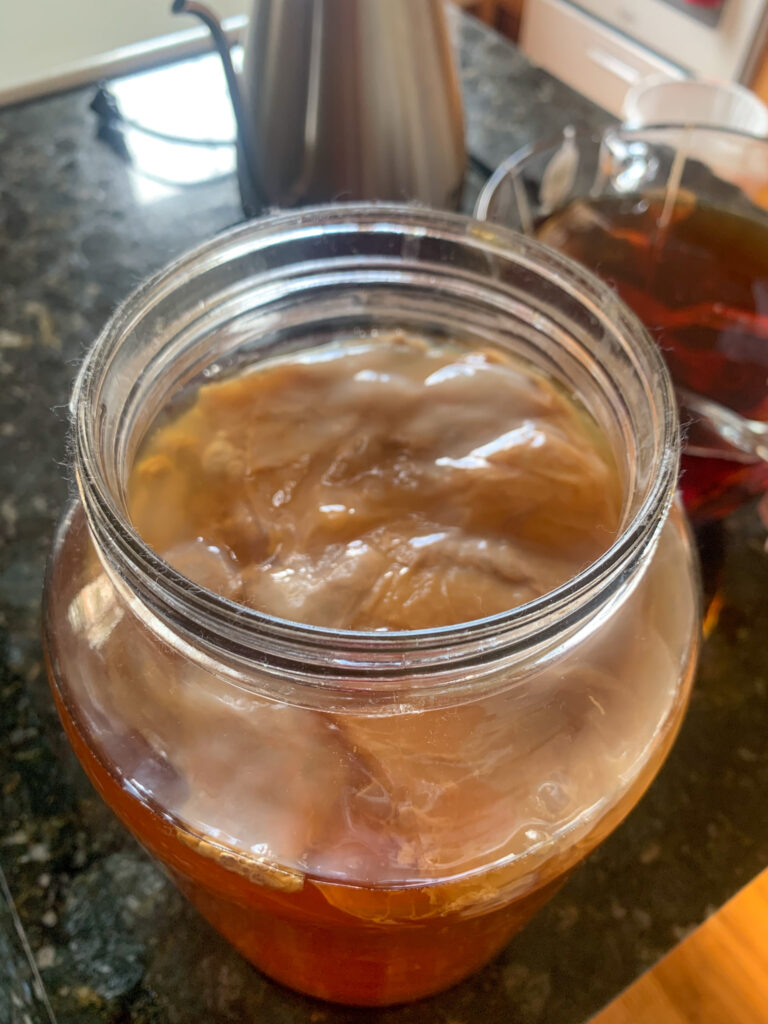
Probably the most important part of being able to brew your own kombucha is the SCOBY which stands for “symbiotic culture of bacteria and yeast”. Where to get a scoby is definitely the next question you need the answer to. If you are lucky like me, you know someone who brews their own kombucha and if they have an established scoby (meaning they’ve been brewing the “booch” for a while) you can get a small part of theirs to start your own. If this isn’t possible, don’t worry because you’ve got a few other options. You can buy a scoby starter from Amazon, or you can start your own from a bottle of store bought kombucha. Check out this article to learn more about how to do that. Once you have a scoby that is ready to rock and roll, you can start brewing your kombucha. The most important part about brewing kombucha is to follow the steps routinely. There are two fermentation processes (both begin at the same time always) to brewing kombucha, so let’s dive right in!
First Fermentation
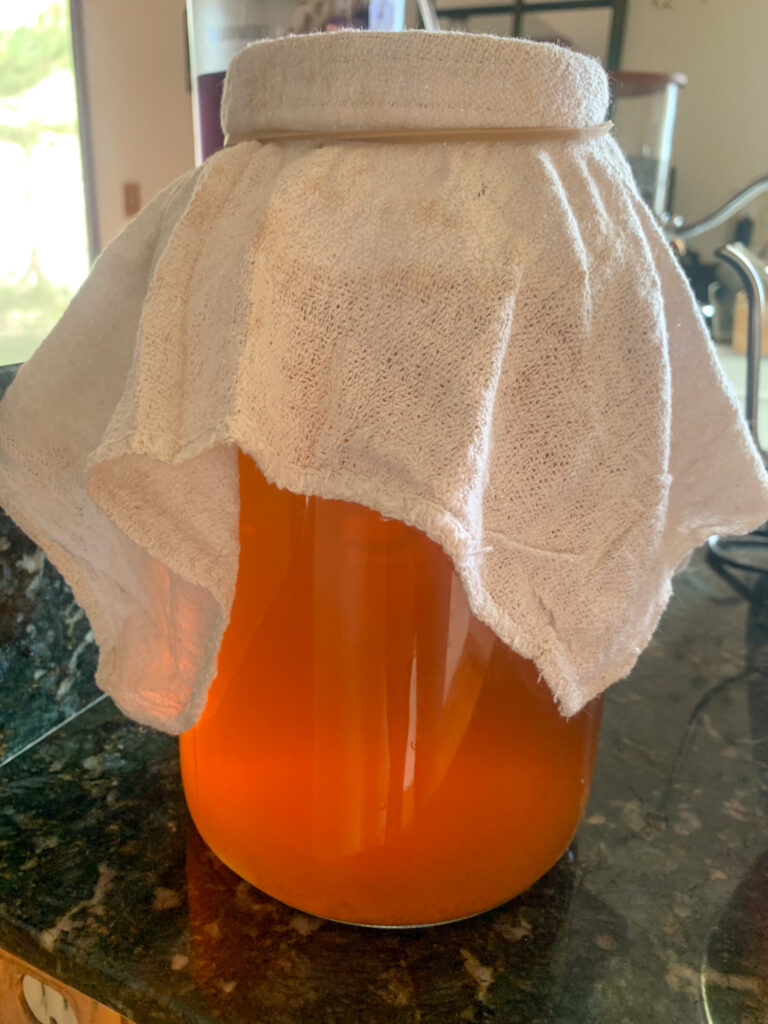
All you need to get going with the first fermentation process is your scoby, regular cane sugar, and plain black tea. Assuming that you’ve got your scoby all set (you likely have it in some sort of tea mixture already depending on how you got started with your scoby, my friend gave me part of her scoby already in some kombucha tea FYI), let’s begin talking about the first fermentation. The first step is to place 8 plain black tea bags in 8 cups of boiling water. Now you need to let this sit for a while to get to room temperature which will probably take at least an hour. If the tea is too hot it could shock the scoby so this is extremely important to let the tea get cool enough, but not to the point of being cold. Mildly lukewarm/room temperature is perfect! Once the tea is cool enough, pour it into a gallon mason jar type container (I bought these off of Amazon and having two is helpful). Next you will add 1/3 cup of regular cane sugar times 4. So 1/3 x 4 of regular cane sugar into the tea. Now, stir with a spoon (I use a wooden one) until the sugar is pretty much all dissolved. It is helpful to have two of the one gallon jars because your scoby will already be in one. When you get into the rhythm of making kombucha you will be going back and forth between the two jars often. After the sugar has dissolved, fill the jar up with cold water to get to 2/3 full. Now, you will add 2 cups from your scoby starter liquid on top of the cold water/fresh tea. Finally, gently place your scoby on the very top. It’s important to always be gentle and kind with your scoby. The jars that I ordered came with a cloth/rubber band. In your original scoby jar with the liquid and in this first fermentation process you always have a cloth/rubber band over the top of the jar. It is only in the second fermentation process that you would have a growler/bottle or mason jar with a lid screwed on. Now place your kombucha in a cool, dark place and let it sit for 7-10 days. We love kombucha so much I don’t hardly ever let it get to the 10 day mark, it is usually right at day 7 or 8. You can periodically check on your kombucha and scoby, you will notice the color of the tea change a bit and over time your scoby will grow. The kombucha tea/scoby will have a slight vinegar smell around the 7-10 day mark and that is another key indicator that it is ready for second fermentation/starting a new first fermentation batch. Every time you are beginning a second fermentation process, you are ALSO beginning a NEW first fermentation.
Second Fermentation
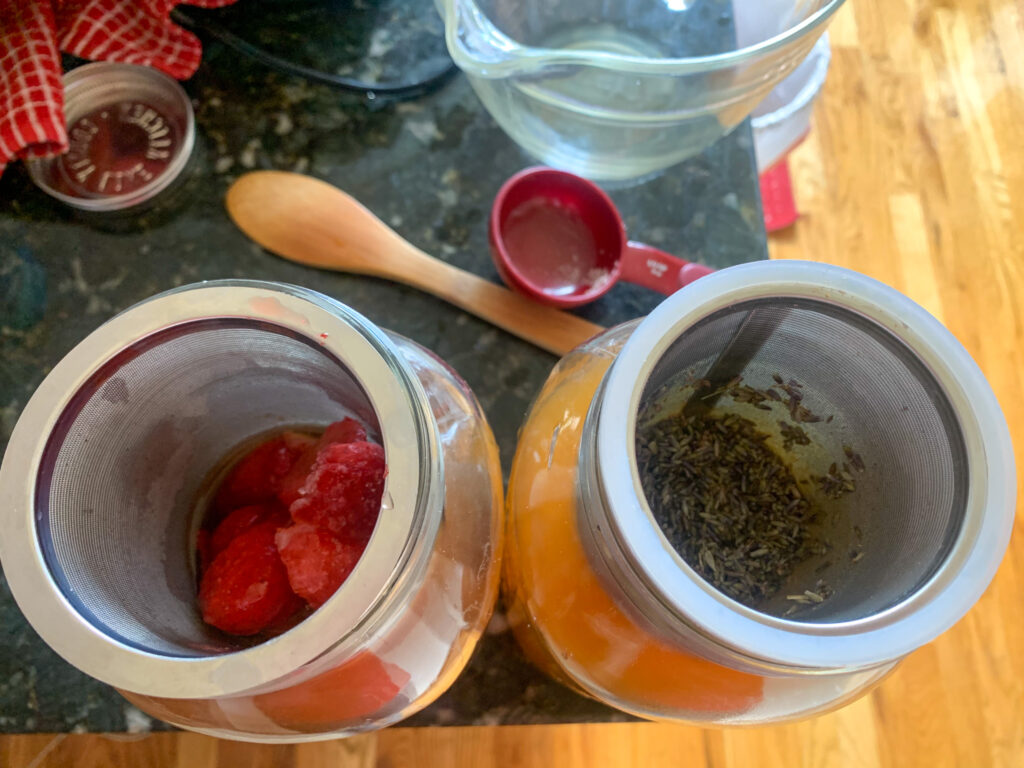
The second fermentation process is the fun part and it’s really easy. This is where you add flavor. The possibilities are endless when it comes to different flavors of kombucha. So far we have made honey lavender, ginger lavender, cherry lavender, strawberry lavender, strawberry, ginger + lemon + honey, strawberry kiwi, and apple. I think the strawberry kiwi and ginger lavender have been my favorites so far. After you have finished setting up the NEW batch of the first fermentation process, you are going to use what is left from the ORIGINAL first fermentation process and add it to the second fermentation. This is where the cold brew filters come in handy, because these filters allow you to add in whatever you want to flavor your kombucha. If you do not have these, you are limited because you will need to use straight juice. This is how I have made apple before I purchased these. If you do not have the cold brew filter jars, you can purchase from the store any type of 100% juice (no other added ingredients). You can pick pineapple, apple, honestly anything at all. You will add about 1/4 cup of juice to the bottom of each growler/bottle (if they are pretty big in size you are welcome to add a bit more juice). Next, just pour the kombucha tea over the top! I always try to have it be as even as possible for each of the bottles/growlers. If you do have the cold brew filters, you first add whatever you want to the filters. For example, when I made strawberry kiwi I added real kiwi and strawberry chunks to the filter. Whatever you are going to use, just add put in the filter. However much you add is entirely up to you, but I did learn the hard way that a little bit of lavender goes quite a long way! Once you’ve added your fruit etc. pour the kombucha tea leftover from the original first fermentation process over the fruit etc. that is in your cold brew filter. Make sure the lids are screwed on fairly tight, and put the jars in a cool, dark place for 3-5 days.
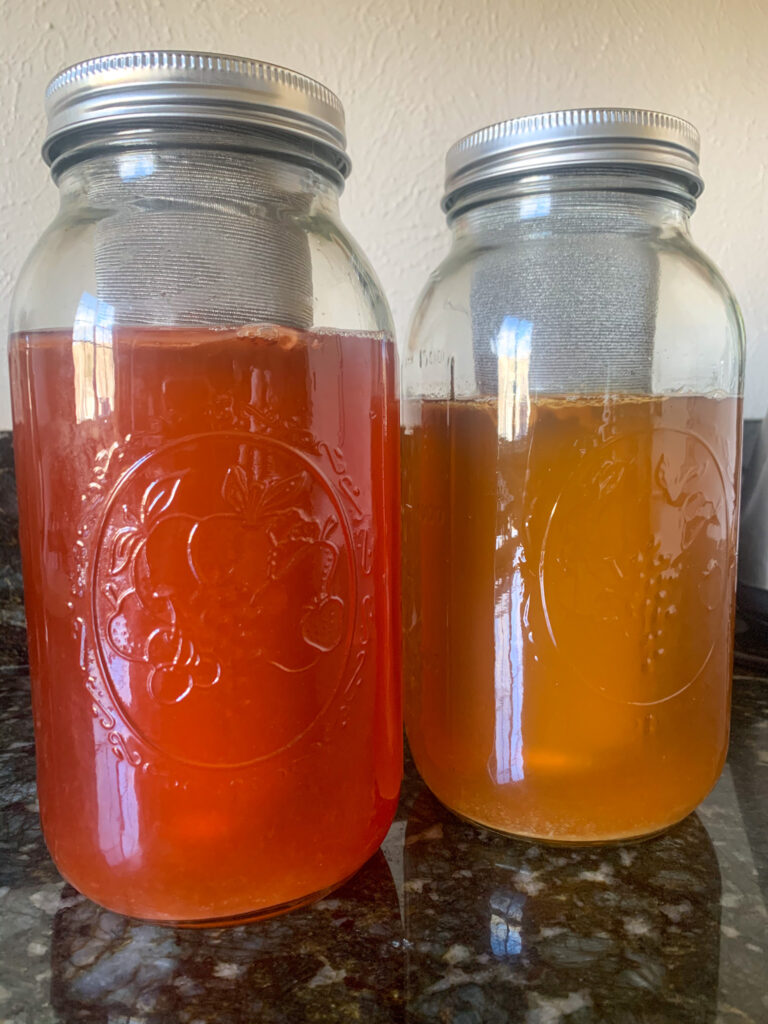
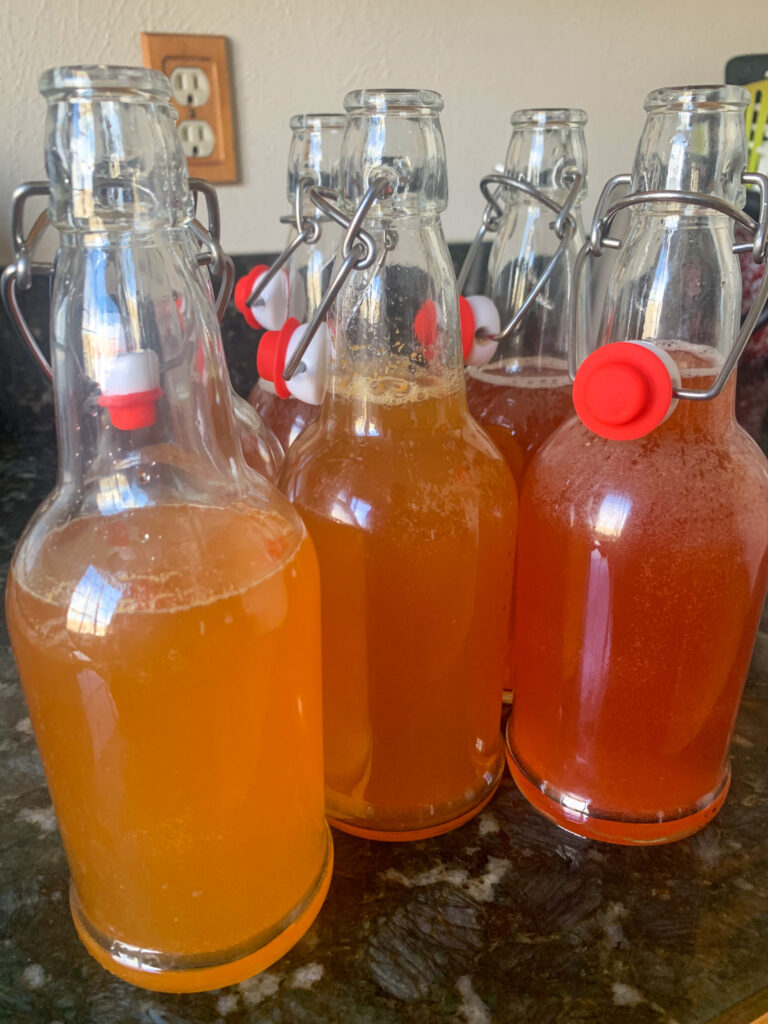
After 3-5 days your kombucha is ready to drink. You will see a few small bubbles forming at the top of the liquid, and that is how you will know it is ready. You don’t want your kombucha to sit in the second fermentation process for under 3 days or over 5 days. So anywhere around there is totally just your preference. I tend to like it right at the 3 full days or maybe 4 days and Donnie more toward the 5 full days. Simply pour your kombucha your bottles/growlers and place into the fridge for up to one full week. Once you open a bottle/growler you need to drink it that day. Now go brew your own kombucha! My only regret is that we didn’t start it sooner. It is so inexpensive to make, the only expenses you have really are up front with purchasing growlers/bottles, big gallon jars, and the cold brew filters if you desire. I would love to hear from you if you venture out into home brewing kombucha like us. To me, home brewing kombucha is certainly going further!
In the Spirit of Adventure,
Demie
What, no honorable mention… LOL